Welcome to our step by step guide for being able to add a contact form within your Primarysite Website.
In this guide we will cover:
- How to add a contact form
- How to edit an existing contact form
This document will help you achieve these things in an easy step by step process. If you have any questions, please get in touch.
Getting Started
Firstly, you will need to log into your website. This may be done by either clicking a padlock icon or it could be that the words ‘log in’ are situated on the homepage, either in a corner or at the bottom of the page.
A log in screen will then appear, for your details
As default, a super user or anyone under the teacher role type will have the permission to edit a content page. We can however amend the permissions for editing for other role types should you find you cannot do this. Please give us a call to do this.
On a new website, Primarysite, will ensure that as part of the essential content, we add a contact form to the contact details page.
An existing website holder, you may use a contact form for a variety of different uses, you may be running a competition, or it could be used as a worry box, or this may be used as a general enquiry form.
Adding a Contact Form
To be able to add a contact form, you need to navigate to the page that you wish to add the contact form to.
Once you are in the page, you will need to click the blue ‘edit this page’ button which can be located in the top left corner of the white bar.
Once you have clicked the ‘edit this page’ button, you will be taken to the editing area for your page. You will now need to select the yellow ‘add block’ button.
Clicking the yellow ‘add block’ button will redirect you to the content editor, to select the piece of content you wish to add. In this instance click the ‘purple’ contact form block.

You will now see the below screen, where you will need to add your title, description if you wish and a recipient email address. This email address will be where all messages submitted through the contact form will go to.
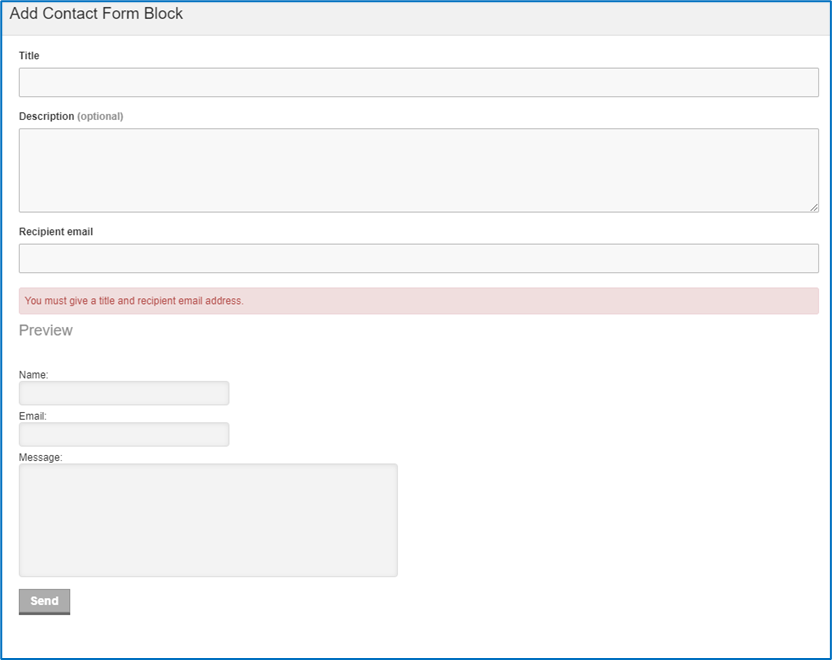
Once you have added the information above, you will need to click the blue ‘save’ button at the bottom of the screen. Click the blue ‘save’ button again to publish the form directly onto the page.
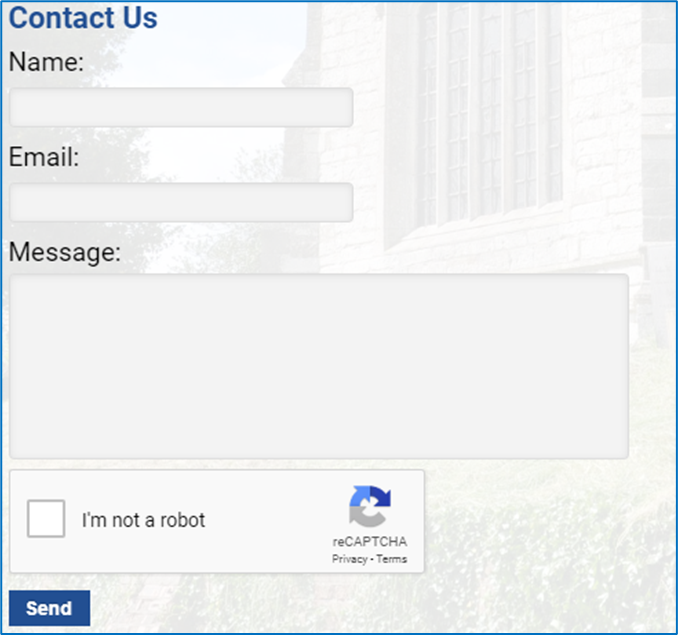
The form will display as below. Users of the form will need to add their name, email and message they wish to send along with selecting the ‘I am not a robot’ button. This will then allow them to click ‘send’.
Editing an Existing Contact Form
You may find that you need to update the recipient email address associated to a contact form on the website.
This can be done by going to the page that the contact form sits on and selecting the blue ‘edit this page’ button in the top left corner.
You will then see the below screen.
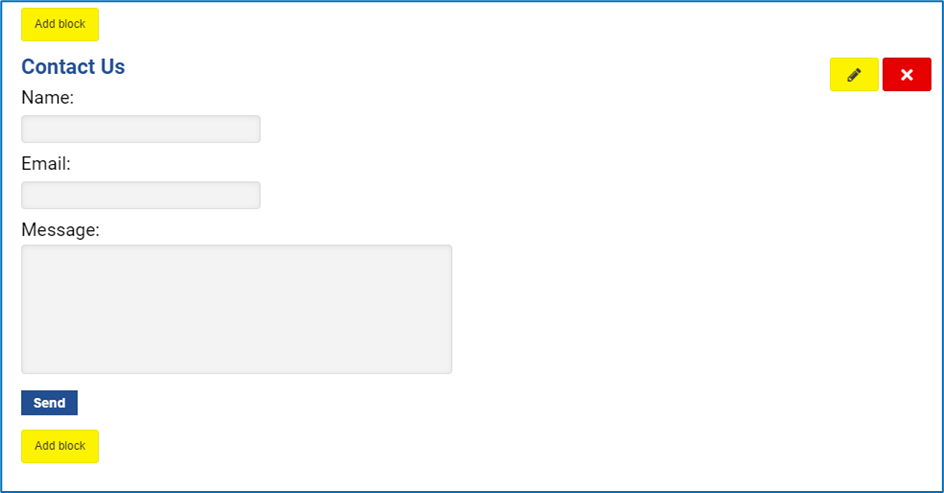
Click the yellow ‘edit pencil’ button to be taken to the ‘manage contact form’ area. You will then see your edit screen, where you can amend the title, description and update the recipient email address.
Once you are happy with your changes click the blue ‘save’ button and click the blue ‘save’ button once again to publish the changes onto the website.
You will also have the option to delete the contact form completely from the above area by clicking the red ‘x’ button. You will be prompted to ensure that you are happy to delete the form.
Updated