Welcome to our step by step guide for using the text block area of your website.
In this guide we will cover:
- How to add a text block
- How to add images through the text editor
- How to create a table
- How to create a hyperlink
- Making Edits
This document will help you achieve these things in an easy step by step process. If you have any questions, please get in touch.
Getting started
Firstly, you will need to log into your website. This may be done by either clicking a padlock icon or it could be that the words ‘log in’ are situated on the homepage, either in a corner or at the bottom of the page.
A log in screen will then appear, for your details
As default, either a super user or anyone under the teacher role type will have the permission to edit pages within the website. These permissions can be amended to give further role types access to edit pages. Please give us a call to do this.
Please note, you will not see the text block option when editing your special pages within the website. Your special pages will be your Calendar, Latest News and Newsletters pages.
How to Add a text block
When you have navigated to the page within the website that you wish to add your text to, your next step will be to click the blue ‘edit this page’ button, located in the top left corner of the page on the white bar.
You will then be taken to the page editor. To add a new piece of content to the page, in this instance text, you will firstly need to click on the yellow ‘add block’ button.
You will now see a list of all the different pieces of content that can be added to the page. Click the green ‘text’ button to be taken to the text editor.
You will now be able to start adding your text by typing into the text editor. You will see that this is very similar to how a word document is laid out and has most of the same functionality.
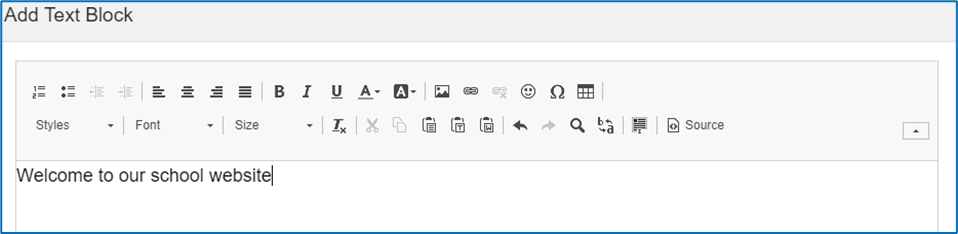
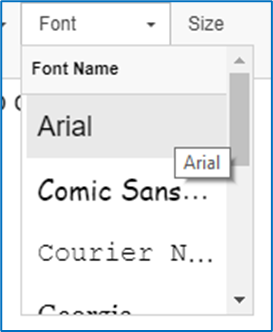
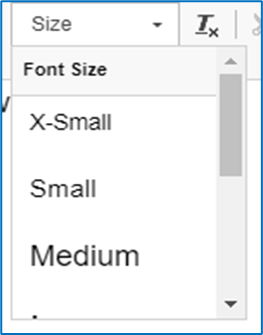
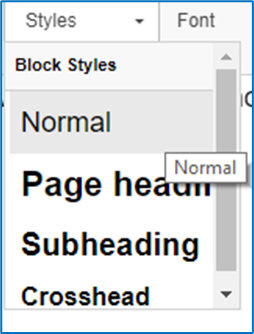
You have the option to change the style, font and size of any text you add by selecting from the drop-down options, as well as ability to bold, italic, underline and change the position of the text.
How to Add Images through the Text Editor
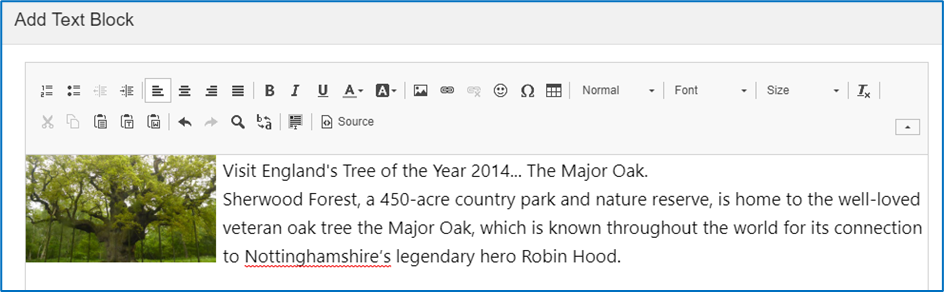
Even though there is a separate picture block to add your images to the website through, you may have some instances where you would like to add a paragraph of text in relation to an image. An example of this may be on a who’s who page, you may wish to add a synopsis about the staff member.
To add an image, you will need to select the image button in the text editor (looks like a mountain with a sun above)

Once selected a new window will open for you to choose your image files from your PC/device
You will then be taken to an image properties screen, where you can change the width, height and style, this helps, if you would like to add text around the image.
Please keep in mind, that when altering the width or height, the dimension not altered will automatically change to keep the image in proportion. Once you are happy, you will need to click ok. Your image will then appear in the text block for you to add any further information.
Clicking the blue save button in the bottom left corner of the text block will then post your content directly on to your page. You will have the option to amend any images added once it has been posted to the page, should you need to.
How to Create a Table
To create a table once in the text editor, you will need to select the table icon.

You will then see a new window appear.
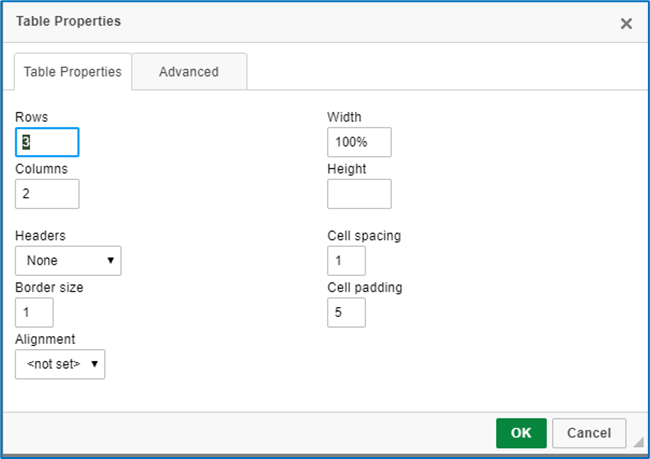
In this area you will need to add how many rows and columns that you wish for your table to have. There is the option to add a border size and select the alignment of the table. As standard, a table border size will be 1, however, if you did not want the border lines to be displayed on the page you would need to alter this to 0.
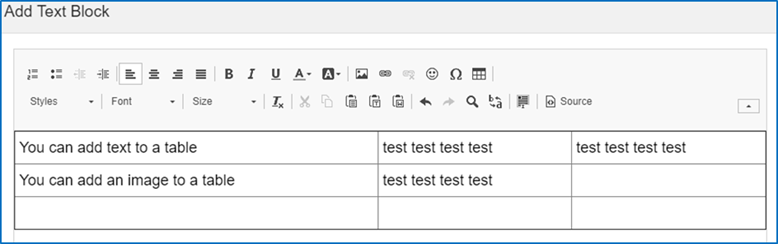
As you start to type into your boxes within the table, you will notice these automatically size to fit the content. Images and hyperlinks as well as text can also be added in to tables.
You will have the option to remove the boarders and alter your table after it has been posted to a page, should you need to.
How to Create a Hyperlink
You can show a hyperlink in the text editor in three different ways. This can be displayed as just the URL name which would be clickable, you can hyperlink words within a sentence or you can hyperlink an image. Once clicked, you would then be redirected to the website linked to the text or image.
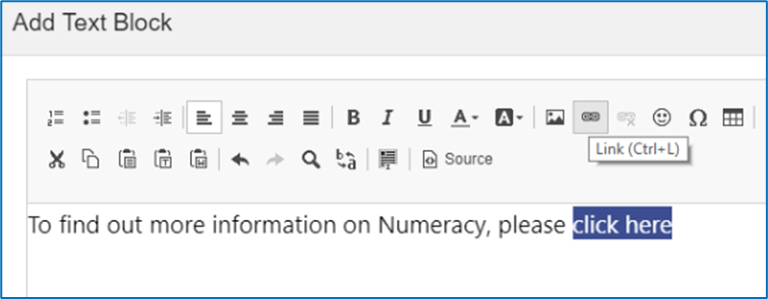
An example of using a link might be, if you had a foundation class learning about numbers/numeracy, you could link the cbeebies numeracy page, to help with counting.
You also have the option to hyperlink text to an email address, so that when clicked a new email window appears.
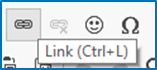
To add a standard URL link, you need to click the link icon button (looks like a paperclip).
A new window will then appear. You will need to set the ‘link type’ as URL, change the target to ‘new window’. In the URL field you would then type in the website address you wish this to take users to.
Click the green ok button, this will then take you back to your text block where you will now see your link. If you click the save button and the save button once more, this will then show on your live website page.

Should you wish to hyperlink words within the text editor, you will need to highlight the word/s in question and then select the link icon button.
A new window will then appear. You will need to set the ‘link type’ as URL, change the target to ‘new window’. In the URL field you would then type in the website address you wish this to take users to.
Click the green ok button, this will then take you back to your text block where you will now see your hyperlinked text, this will show as a different colour to the other text to show this is linked. If you click the save button and the save button once more, this will then show on your live website page.

To hyperlink text so that this opens a new email window, you will just need to follow the steps above but rather than select the ‘link type’ as URL, you will need to select ‘email’ from the drop down. Enter the email address in question into the free text field and click the green ok button.
You can also unlink any hyperlinked text you have added by selecting the unlink button. This is represented with a paperclip and a cross.
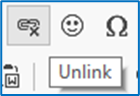
You will need to highlight the website address/text, click the unlink button and then click save.
Lastly to hyperlink an image, you would firstly need to add your image into the text editor, by clicking the image button below.
Once your image has been added, you will need to select the image itself and click the link icon button.
A new window will then appear. You will need to set the ‘link type’ as URL, change the target to ‘new window’. In the URL field you would then type in the website address you wish this to take users to.
Click the green ok button, this will then take you back to your text block and to your hyperlinked image. Click the save button and the save button once more, this will then show on your live website page.
Making Edits
There is always the ability to edit within your website. To do this, you need to be on the page you would like to change and always click the button in the top left-hand corner, ‘edit this page.’
It is just a case of always making sure to click the yellow button with the pencil within it, at the side of the block of content you wish to change, making sure to save any changes.

Updated